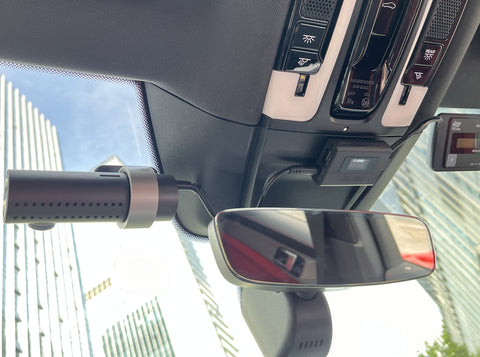
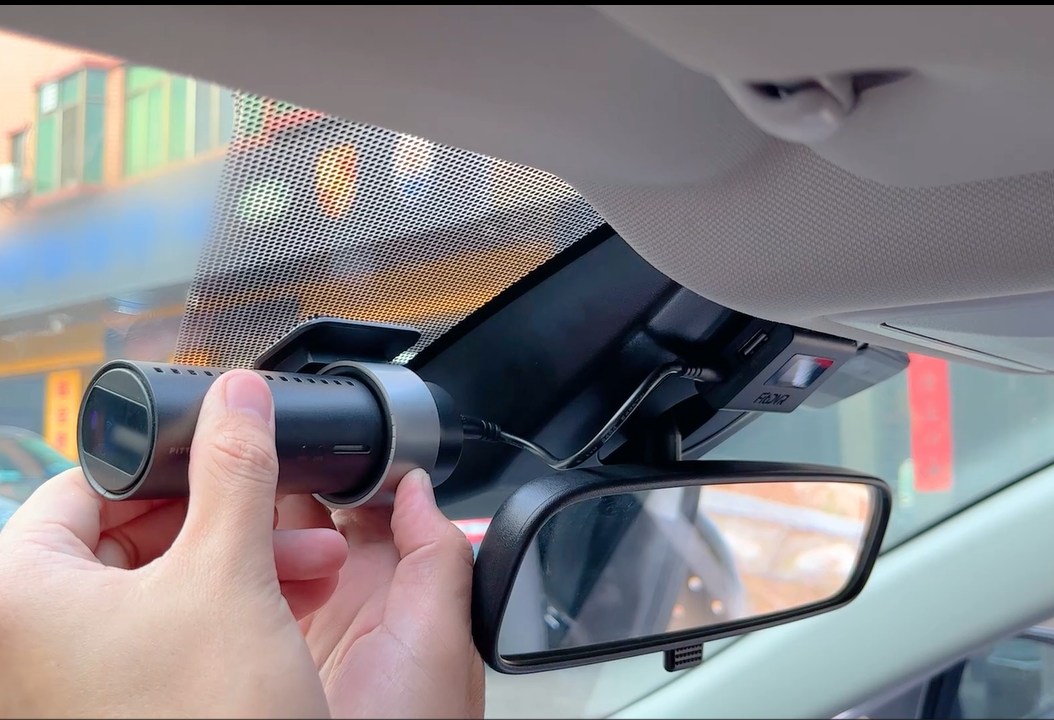
"I've been putting off hard wiring my wife's dash camera and tucking and hiding the wiring. After weeks of being reminded of how bad it looks, I was looking for a kit to finally take care of it when I came across this adapter."
Most people find those long wires very annoying after installed their dash cams, included Danno, who wants to solve this issue for his wife.
"Her vehicle just happened to be equipped with a compatible powered rear view. I couldn't believe how incredibly easy this kit was to install. Within minutes, I had it in place, the camera connected with the correct cord (which was one of several included with the kit), and working perfectly without wires running everywhere and without having to hide anything. It looks clean and nice and all I had to do was to unplug the factory plug behind the mirror, connect this between the mirror and factory wire, and stick the display where I wanted it with the double-sided 3M tape on back."
The whole process is so smooth, no hassle at all. And finally Danno draw a conclusion,
"If your vehicle has a powered mirror, I would definitely recommend considering this product to power your camera, radar detector, or other compatible device. Love it."
For those seeking a reliable solution to keep their dash cam or other devices having continuous power operation, FitDVR power adapters are highly recommended.
If you want a clean visual field, good equipment is necessary, and FitDVR has everything to suit you. 
Here’s a general guide on how to install such an adapter:
- Make sure your vehicle is turned OFF before starting any installation.
- Remove the panels or covers behind your rearview mirror/sunroof/overhead console carefully.
- Unplug the wire pin connector, connect Y cable to both end.
- Then connect the FitDVR adapter. When you make sure the wires are plugged, tuck any hanging wires, reinstall any trim panels or covers that were removed to access the power wiring. Ensure they are securely in place.
- Remove the FitDVR adapter’s 3M tape, and attach it to any position that you like. Then install the dash cam or other devices.
-
Turn vehicle ON to ensure your device is receiving power--- Installation complete!
Click this Installation Guide Video show you more details.
If you're uncomfortable with vehicle electronics or unsure about the process, consider having the dash cam power adapter installed by a professional. They have the expertise and tools necessary to ensure a proper installation, including verifying connections and avoiding potential damage to your vehicle's electrical system.
By following these steps, you can install a power adapter that connects to your dash cam effectively and safely, enhancing your vehicle's safety and security capabilities.

